Manual
Manual is similar to Registers, in where documents can be stored. However, unlike Registers, Manual is dedicated to policies, procedures, and other critical organisational documentation.
Manual Dashboard
To access the Manual Dashboard, click on Manual in the top bar.
On the Manual Dashboard, you will see all the manuals you have access to. You can open each manual by clicking on its name.
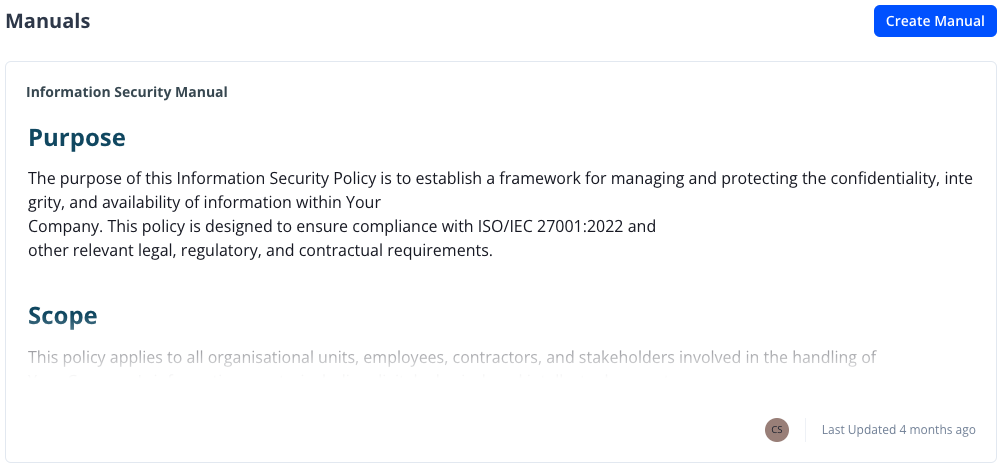
You can also view a snippet of the manual from the dashboard, alongside the manual owner and when it was last updated.
Creating a Manual
To create a new manual, click on the Create Manual button on the right side of the dashboard.

Click on the newly created manual to open into the manual sections.

Deleting a Manual
To delete a manual, click on the manual in the dashboard to open it. Then on the top right side of the manual, click the three dots as shown below

A drop-down will then appear, click on Delete Manual.

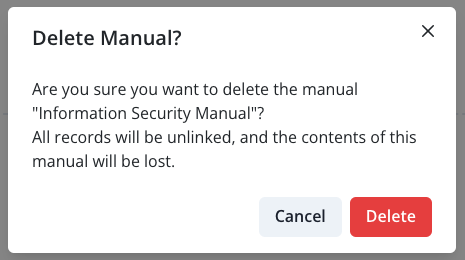
A modal will appear, confirming you want to delete the manual. If you decide you no longer want to delete the manual, click the Cancel button, or the X at the top right of the modal.
If you still want to delete the manual, click the Delete button.
Once the manual is deleted, you will be taken back to the manual dashboard.
Only delete a manual when you are certain it is no longer needed.
Editing a Manual Name
You can edit the manual name by clicking on the pencil button that appears when you hover over the name.

An "Edit manual name" modal will appear with a text input to change the name.
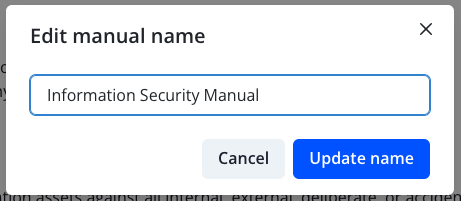
Enter in the new manual name, then click Update name.
If you decide you no longer want to edit the manual name, you can click Cancel or the X at the top right of the modal.
Updating a Manual Owner
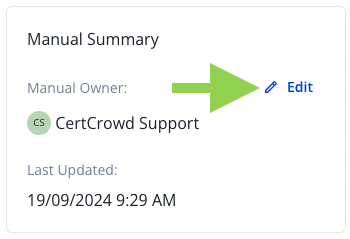
To update a manual owner, hover over the Manual Owner section inside the Manual Summary card on the right side of the manual, and click on the Edit button.
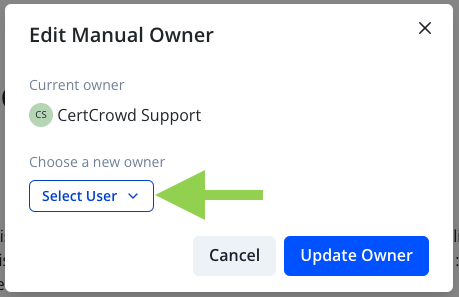
The Edit Manual Owner modal will appear, with the current owner shown at the top and a drop-down to choose a new owner.
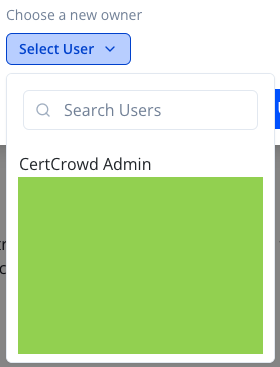
Click on the Select User to open the drop-down menu.
Select the user to update the manual owner to, or search if there is a lot of users.
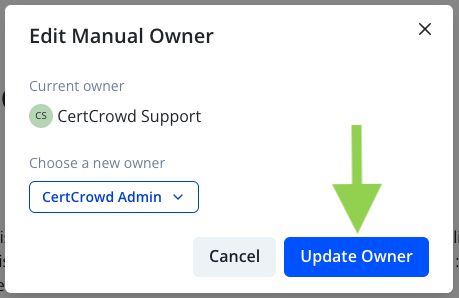
Once the user is selected, click Update Owner.
If you no longer want to update the manual owner, you can click Cancel or the X at the top right of the modal.
Re-order Manual Sections
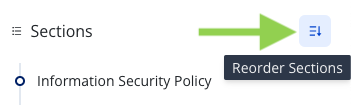
You can re-order manual sections by clicking on the list button that appears when hovering over Sections
A grid pattern will then appear next to each section title. You can click either the grid icon or the section title and drag to the desired position.
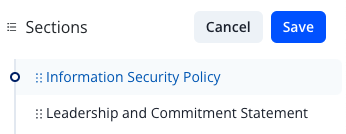
Once the sections are re-ordered, click Save to save the new position. If you no longer want to rearrange the sections, click Cancel.
Manual Sections
Manual sections are where the documents are stored, with each section being a separate document. For example, you could have an "Information Security Policy" as one section, then "Leadership and Commitment Statement" as another section, and so on.
Adding and Deleting Manual Sections
Add a Manual Section
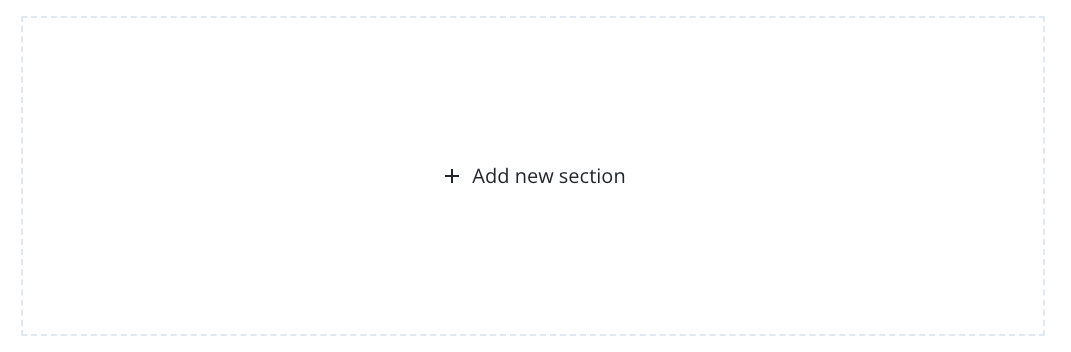
To add a section in a manual, click the Add Section button on the top right of the manual, or click the + Add new section box at the bottom of the page.
![]()
Delete a Manual Section
To delete a section in a manual, click on the three dots that appear when hovering over the section.

Click on the Delete button on the bottom of the drop-down menu.

A modal will appear, confirming you want to delete the section. If you decide you no longer want to delete the section, click the Cancel button, or the X at the top right of the modal.
To proceed with deleting the section, click Delete.
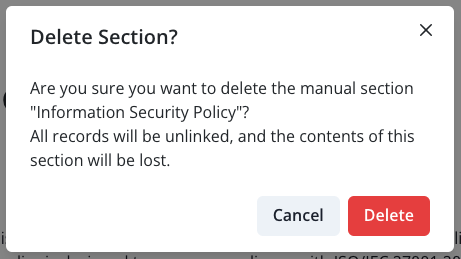
Only delete a section when you are certain it is no longer needed.
Editing Manual Section
You can edit a manual section by clicking on the Edit button that appears when hovering over a section.

You will be taken into CertCrowd's rich text editor, where you can also view the Section Summary and Usage.
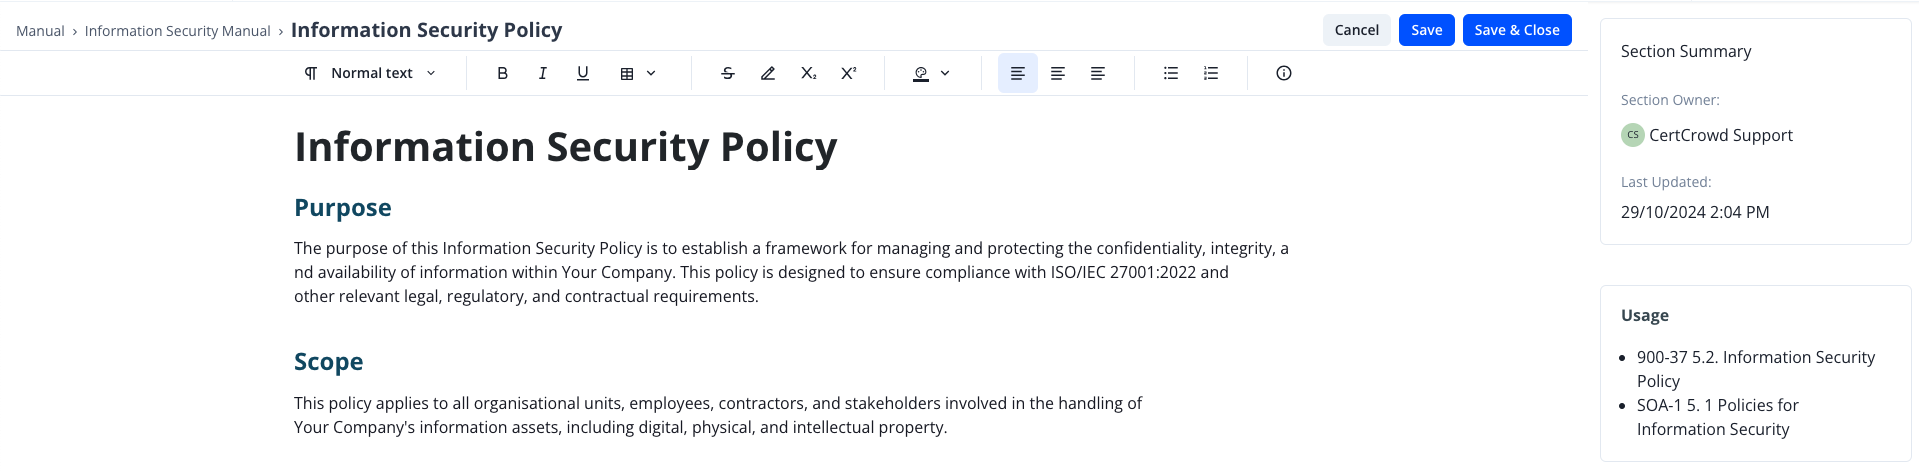
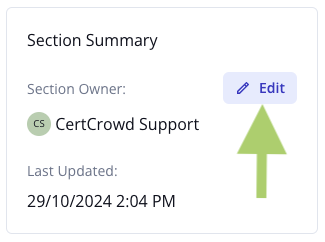
Section Summary displays the section owner and the last time the section was updated.
Usage displays linked Requirements or Registers.
After entering the document, you can either click Save and keep the text editor open, or click Save & Close to save and return to the manual. If you have made no changes, or do not want to save the changes made, you can click Cancel and return to the manual.
Updating Manual Section Owner
To update a manual section owner, click on the Edit button that appears when hovering over the Section Owner area of the Section Summary.
The Edit Section Owner modal will appear, with the current section owner shown at the top and a drop-down to choose a new owner.
Click on the Select User to open the drop-down menu.
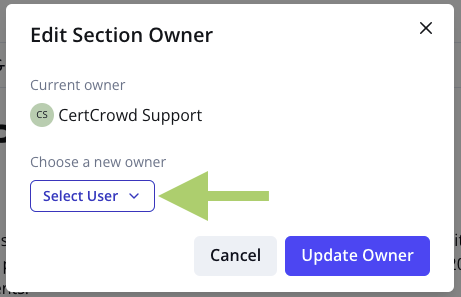
Select the user to update the section owner to, or search if there is a lot of users.
Once the user is selected, click Update Owner.
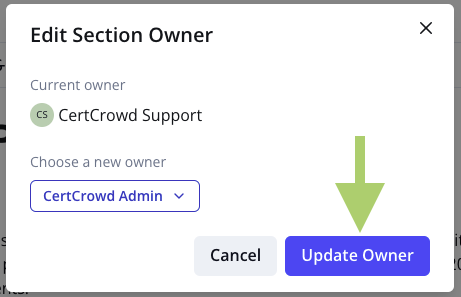
If you no longer want to update the section owner, you can click Cancel or the X at the top right of the modal.
Linking and Unlinking Manual Sections
Manual sections can be linked to Requirements and Registers, allowing for seamless integration in your system.
Link a Manual Section
To link a manual section to a Requirement or Register, go to the record you want to link to. For example, to link clause 5.2 "Information Security Policy" with the section with the same name, go to clause 5.2 in your requirement tree.
Then, scroll down until you see the Manual header.
If the record has not been linked to another section, then "No linked sections..." will appear.
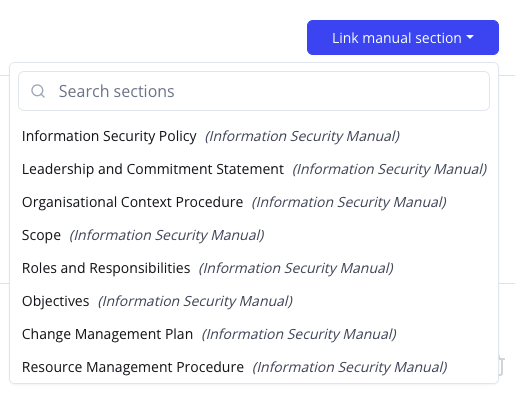
Click on the Link manual section button on the right side of the screen.

A drop-down will appear, with the sections from the manual. Click on the name of the section to link it to the record.
It will then be linked to the record, you do not have to press any additional buttons.
The section will now appear under the Manual header.
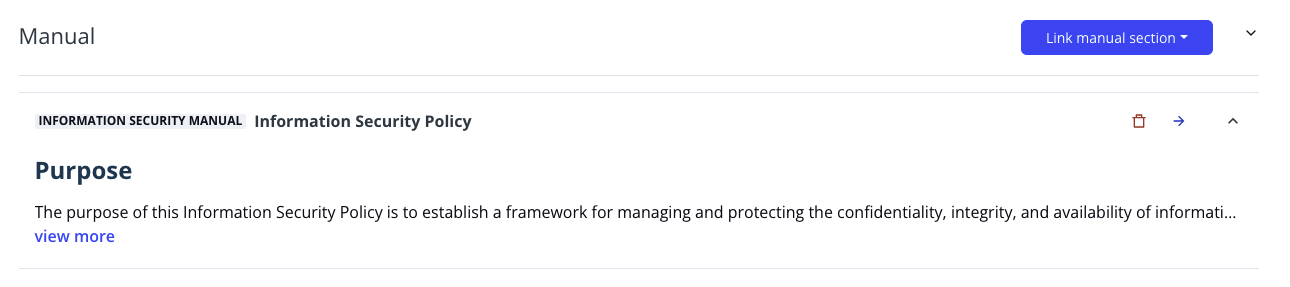
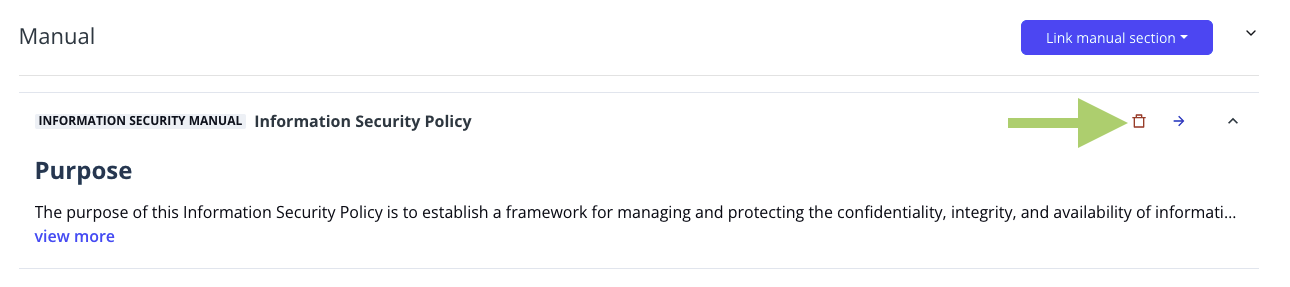
Unlink a Manual Section
To unlink a manual section, click on the red bin icon on the right side.
A modal will appear, confirming you want to unlink the section. If you decide you no longer want to unlink the section, click the Cancel button, or the X at the top right of the modal.
If you still want to unlink the section, click the Unlink button.
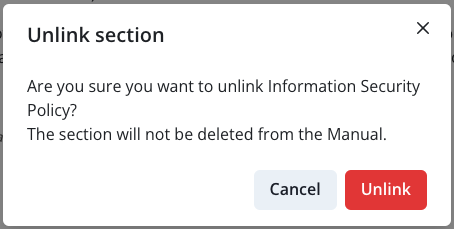
Unlinking a section does not delete the section.
Rich Text Editor
CertCrowd has its own rich text editor, with a variety of styling options available.
When first opening the editor, you will see a menu with icons.

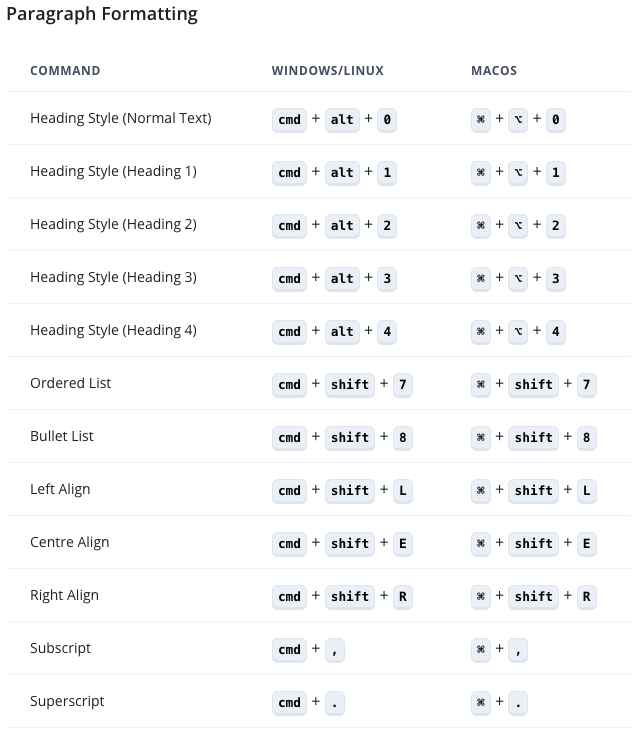
Heading Styles
Five levels of heading styles are available through our rich text editor, and can be seen below.
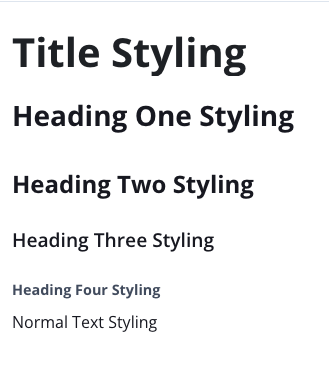
The Title styling is only available for the title of the section.
To apply heading styles, ranging from Heading One to Heading Four click on the dropdown on the far left side.

Normal Text is selected by default.
This will open a dropdown with different heading levels, alongside the default normal text. Click on the heading style you wish to apply.
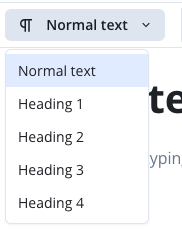
The dropdown will then collapse, with the heading style applied and ready for you to add content.
![]()
Text Styles
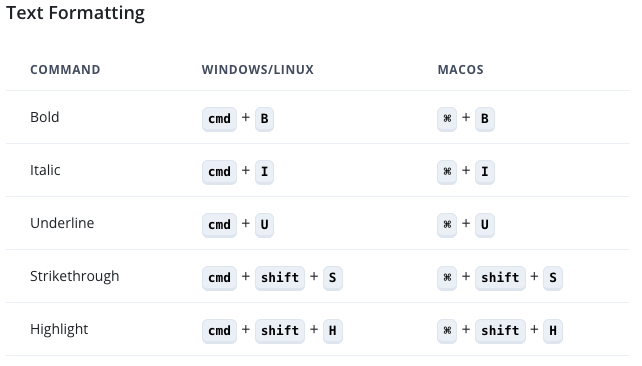
CertCrowd's text editor has a variety of text styling you can apply to your document.
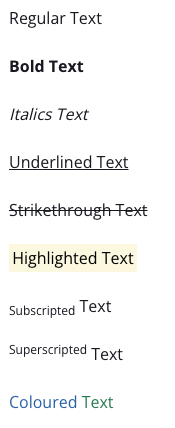


To apply each of these styles, or a combination of them, you can click on their corresponding icons.
-
Bold:

-
Italics:

-
Underline:

-
Strikethrough:

-
Highlight:

-
Subscript:

-
Superscript:

-
Text Colour:

Then a dropdown will appear, with a variety of colours to choose from.

Click on the colour you want your text to be.
-
Left Alignment:

Left Alignment is selected by default.
- Center Alignment:

- Right Alignment:

- Bullet List:

- Numbered List:

To remove styling from text, highlight the text with the unwanted styling, and click on the associated icon to unstyle the text.
Table Styles
Tables are supported in our editor. To create a table, click on the table icon.
![]()
A dropdown will then appear and you can choose how big you want your table to be.
Hover over the size you want and then click on the most outer box to insert the table into the document.

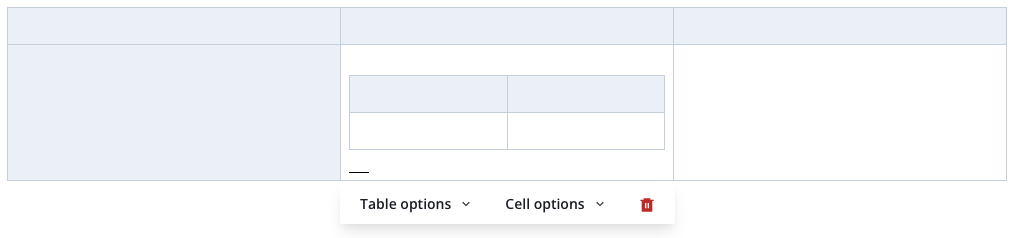
To edit the table, use the floating menu that appears when clicking on the table.

- Table options: Gives you the option to toggle Header Row and Header Column.
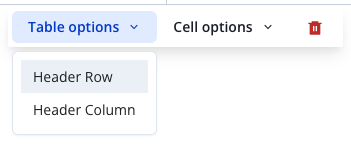
You can use both Header Row and Header Column if desired.

- Cell options: Gives you options to either insert rows below the selected cell, columns to the right of the selected cell, or delete the row or column currently selected.
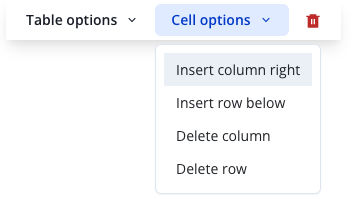
- Bin icon: The bin icon is a delete table button. Click this when you want to delete the table.

CertCrowd supports nested tables and can be added by creating a table while having a cell selected.
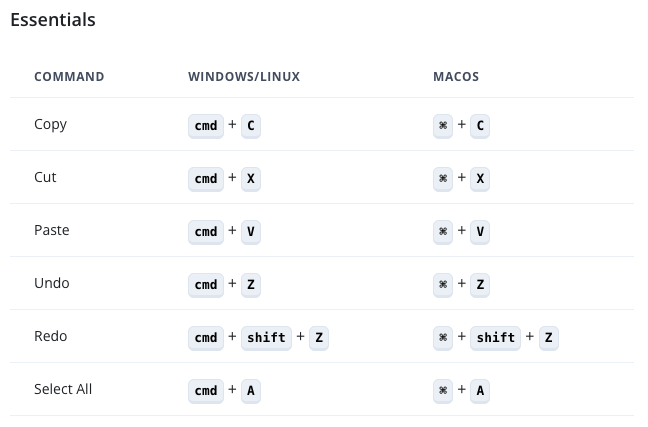
Shortcuts
Like other rich text editors, CertCrowd supports most keyboard shortcuts. To view these shortcuts while editing, click on the info icon.
![]()
A modal will then appear with all keyboard shortcuts supported in the rich text editor.
To close the modal, either click anywhere outside of the modal, or the X at the top right of the modal.